How to File an Income Tax Return for Salaried Individuals

Income Tax Return for Salaried Individuals

In this blog post aims to provide clear understanding and ease the process of filing their Income Tax Return (ITR) for salaried individuals . An ITR is a document where Tax Payers declare their income earned from different sources and tax liabilities to the government. Filing Income Tax Returns annually is a crucial task for every salaried individual. The Income Tax Department has simplified the process of filing an Income Tax Return, so that every individual can complete the process of filing Income Tax Return easily. Filing an ITR for salaried person mainly includes income from salary, income earned from house property (if any), interest income earned from investments, and earning capital gains (if applicable). The process involves reporting these earnings, claiming deductions, and calculating tax liability accurately. The pre-filling and filing of the ITR-1 service are available to registered users on the e-Filing portal. This service enables individual taxpayers to file ITR-1 either online through the e-Filing portal or by accessing the offline Excel and HTML utilities. Requirements for filing an Income Tax Return Procedures: Essential Documents: The Income Tax Department has simplified and eased the process of filing an ITR. First of all, collect these essential documents before filing the ITR. These documents are crucial for the accurate reporting of your income and deductions. Select the right form for filing ITR for salaried individuals. Let’s now understand the difference between the ITR-1, also known as Sahaj, and the ITR-2 forms. Enter Your Income Details: Respective fields of the ITR form put your income details accurately as mentioned in the form, including salary, allowances, perquisites, deductions under Sections 80C, 80D, etc. Claim Deductions: Enter deductions under Section 80C, including PPF, EPF, life insurance premiums, etc. 80D includes health insurance premiums for individuals and your dependents, 80G for donations, and others that can significantly reduce your taxable income. Verify tax liability: The government declares income tax slabs and rates annually in the budget. Use the income tax slabs and rates applicable for the assessment year to calculate your tax liability. How to File Online: Most individuals now file their ITR online through the Income Tax Department’s e-filing portal. Filing for the ITR-1 service is available to registered users on the e-Filing portal. This service enables individual taxpayers to file ITR-1 either online through the e-Filing portal or by accessing the offline Excel and HTML utilities. How to Verify and Submit: Verify the details entered in the ITR form for accuracy. After thorough verification, submit the form electronically and e-verify using Aadhaar OTP, net banking, or a digital signature for faster and hassle-free, or by sending the duly signed (preferably in blue ink). Form ITR-V to “Centralized Processing Centre, Income Tax Department, Bengaluru, 560500″ by ORDINARY OR SPEED POST ONLY, so as to reach within 120 days from the date of transmitting the data electronically. Steps to File an ITR Personal Information In the Personal Information section of the ITR, you need to validate the pre-filled data, which is auto-filled from your e-Filing profile. You will not be able to edit some of your personal data directly in the form. However, you can make the necessary changes by going to the profile section. You can edit your contact details, filing type details, and bank details in the form. Gross Total Income In the Gross Total Income section, you need to review the pre-filled information and confirm or edit your income source details from salary, pension, house property, and other sources (such as interest income, family pension, etc.). You can also add details about exempt income, if any. Total Deductions In the Total Deductions section, you need to add, delete, and confirm any deductions applicable to you toclaim under Chapter VI-A of the Income Tax Act. Tax Paid In the Tax Paid section, you need to confirm taxes paid by you in the previous year. Tax details include TDS from salary or other than salary as furnished by the payer(s), TCS, advance tax, and self-assessment tax.  Total Tax Liability In the Total Tax Liability section, you need to review the tax liability computed as per the validated sections. How to Access and Submit ITR: 1 You can file and submit your ITR through the following methods:Online Mode: through the e-Filing Portal Online Mode: through the e-Filing Portal Follow the below steps to file and submit the ITR in online mode:  Step 1: Log in to the e-Filing portal using your user ID and password. Step 2: On your dashboard, click e-File > Income Tax Returns > File Income Tax Return. Step 3: Select Assessment Year as 2024–25 and Mode of Filling as Online, then click Continue. Step 4: In case you have already filled out the income tax return and it is pending submission, click Resume Filing. In case you wish to discard the saved return and start preparing the return afresh, click Start New Filing. Step 5: Select Status as applicable to you and click Continue to proceed further. Step 6: You have two options to select the type of income tax return: Step 7: Once you have selected the ITR applicable to you, note the list of documents needed and click Let’s Get Started. Step 8: Select the checkbox applicable to you regarding the reason for filing the ITR and click Continue. Step 9: For AY 2024–25, the new tax regime is the default tax regime. Option “no” will be auto-selected. If you want to opt out of the New Tax Regime, select “Yes” in the Personal Information Section. Review your pre-filled data and edit it if necessary. Enter the remaining or additional data (if required). Click Confirm at the end of each section. Step 10a: In case there is a tax liability after clicking on total tax liability, you will be shown a summary of your tax computation based on the details you provided. If there is tax liability payable based on the computation, you will get the Pay Now and Pay Later options at the bottom of the page. Step 10b: If there is no tax liability (no demand or refund) or if you are eligible for a refundClick Preview Return. If there is no tax liability payable … Read more

e-Shram Card: Benefits, Eligibility Criteria, And How to Apply Online.

e-Shram Card

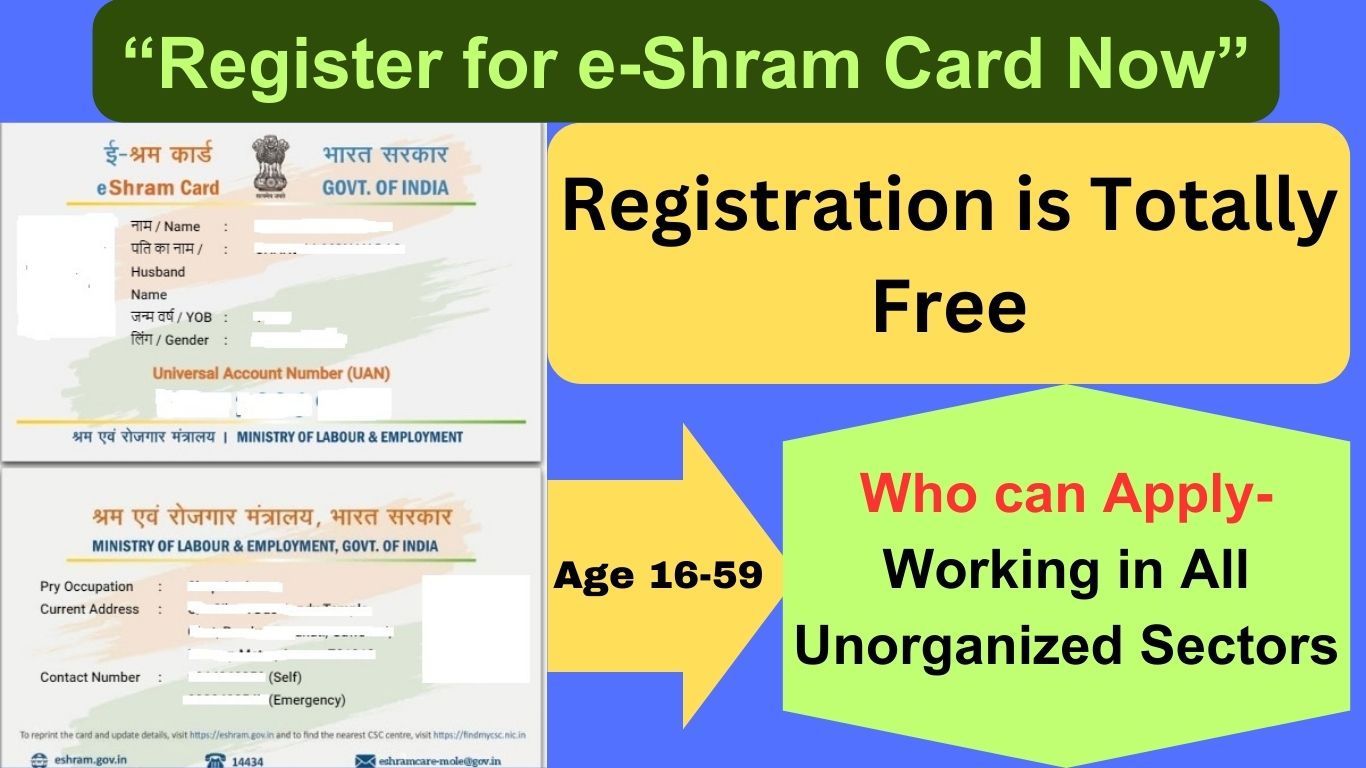
The e-Shram card was launched by the Ministry of Labour and Employment initiative of the Government of India to collect data on all unorganized workers working across the country. Therefore, the e-Shram portal was published to issue an e-Shram card to every worker engaged in the unorganized sector and aims to provide a variety of social security benefits to workers for their welfare. Any person working in the unorganized sector can apply online for an e-shram card through this portal, and they can get e-shram card benefits such as death insurance, pension after 60 years, and other government scheme benefits. In this blog post, we will explore the various benefits of an e-shram card, its registration process, and the download process. Key Features of the e-Shram Card Unique Identification of Workers After registering for an e-shram card, registered workers will receive a 12-digit unique identification number, known as the Universal Account Number (UAN). Social Security and Government Scheme Benefits The e-shram card holder has access to various social security schemes and benefits such as insurance, pensions, and health benefits. Centralized Database of Unorganized Workers The portal The Central Government has developed the eShram portal, which is a centralized database of unorganized workers seeded with Aadhaar. In the future, it is envisaged that all the improved policy-making and implementation of welfare schemes for unorganized workers will be delivered through this portal. In emergency and national pandemic-like situations, this database may be utilized to provide necessary assistance to eligible unorganized workers. Benefits of having e-Shram Card Eligibilty Criteria How to Apply for e-Shram Card Online Registration: Registration at Common Service Centre (CSCs): Documents Required for Applying e-shram Card Following is required by the worker to register on the eShram portal How to download e-Shram Card After submitting the online application, proceed with the steps below to download the e-shram card: For Any other Support: Our helpdesk support (toll Free) is available at 14434 (8:00 AM to 8:00 PM Monday to Saturday & 9.30 AM to 6.00 PM on Sunday) in Hindi, English, Tamil, Bengali, Kannada, Malayalam, Marathi, Odia, Telugu and Assamese languages. For quick redressal of grievances, visit the Grievances page of website https://gms.eshram.gov.in/gmsportal/#/portal/Home of eShram Portal For next level of support.

How to Create a Free Google Business Profile: Why is it Important?

Google My Business Profile

In the present age of the digital world, having a Free Google Business Profile is important for growing any business and to have a strong online presence, which is essential for any business for attacking more customer in a competitive world. One of the most effective ways to enhance your visibility in Google searches and connect with potential customers is by creating a Free Google Business Profile. By registering your business, Google provides free services that allow businesses to manage online presence across Google’s various platforms, including Google Search and Google Maps. In this article, I will give valuable information about your Google Business Profile and the step-by-step process of registering your free Google Business Profile. Why You Need Free Google Business Profile Let’s understand now: Why do you need a Google Business profile for growing your business and effective ways to enhance your visibility in Google searches and connect with potential customers? Before we enter the registration process, let’s understand why having a Google Business profile is crucial for your business. In the age of the digital world, everyone has mobile phones and the internet, which have become the easiest tools for accessing information and seeking help. Whether it’s looking up services or seeking quick help, we use Google searches on our mobile phones. By typing things like an ATM near me, the best restaurant/hotel near me, the best place to visit near me, a mobile repair service center near me, how to fix a problem, finding health advice, or getting directions, getting knowledge and advice at our fingertips has transformed the way we run our daily lives. Therefore, it is very important to have a free Google Business Profile for your business to take it to the next level. Below, I have discussed the importance of Google Business profiles one by one. Increase visibility on Google for your Business and make It Easily Accessible. As we know, in today’s digital world, most people search on Google for products and services to get more information. By registering your business in a Google Business Profile, you increase your visibility on Google Search and Maps, and customers can find it easy to get information about your business. Now customers can search for your business details on Google, making it easier for potential customers to find information about your business, such as your location, contact details, hours of operation, images, and more information about your business that you have shared. Trust Building is Important for Any Business to Grow. It is very important for your business in today’s digital world to have a verified Google Business Profile for any business. If you have the same, customers can easily find and trust your business and the services that you have provided, which increase credibility and reliability to your business and helps attract more customers. Now customers can easily find your business at their fingertips and ask about it.  Increase Customer Engagement for Your Business. If you have a Google Business Profile, customers can leave reviews, ask questions, and interact with your business directly. Which will help other customers get more information about your business before dealing with it? This will not only help in building relationships but also provide valuable feedback that you can use to improve your products and services for your customers. Follow Step-by-Step to Registering Your Google Business Profile. After understanding the importance of having a Google Business Profile, let’s start the process of creating Free Google Business Profile: Step 1: Sign in to Google My Business. Type on Google search bar “Google My Business” or Visit the website (https://www.google.com/business/) and sign in with your Google or Gmail account. Before proceeding to register into a Google My business or creating Google Business Profile. You must have a Gmail account, if you don’t have the Gmail account, you will need to create a Google account or Gmail account first. Step 2: Add Your Business. After that, once signed in process is completed, click on the “Manage now” button. Enter name of your business in the provided field. If your business doesn’t appear in the dropdown menu or not belongs to any category, click on “Add your business to Google.” Step 3: Enter Your Business Information in the Required Field Correctly. Enter your business information in the required field including your address or location, phone number, category, website URL if any. Enter correct information of your business Proper and up-to-date information of your business so that potential customers can easily find you. Step 5:  Your Profile Ready for Adding More Information About Your Business. After verification process is completed, take the time to optimize your Google Business Profile. Now, add some high-quality photos of your business, including your logo, interior and exterior images of your business, and products/services. Also provide description of your business for ease customer point of view. Step 6: Keep your Business Information Updated always. Regularly review and update your Google Business Profile to ensure that all information, such contact details, business working hours, holiday hours etc.  is accurate. Respond quickly to the customer phone call, reviews and messages Customer satisfaction is very important for your growing business. Conclusion. Register your business on Google My business is a simple yet powerful way to establish and growing your business in digital world and also online presence always easy for any business for attacking more customer and providing service to the customer.

Linked Voter Card with Aadhaar: Why It Important and How to Do It.

Linked Voter Card with Aadhaar

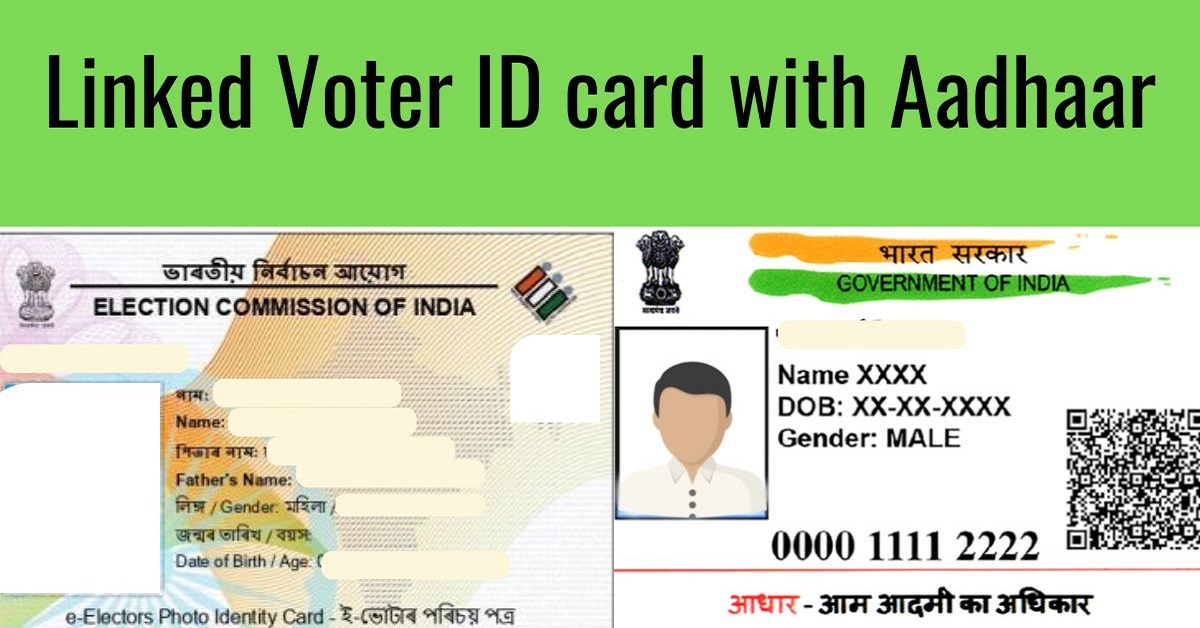
In the era of digital world, it is very important to link your Voter Card with Aadhaar, ensuring the linkage between vital identification documents is crucial, because Voter and Aadhaar are impotrant identification documents for Citizen of India. To exepedite the process Election Commission of India launced and update the NVSP portal. Why Linked Voter Card with Aadhaar It is very important to link your voter ID card with Aadhaar, which enhances the integrity of the electoral process by reducing duplicate and fraudulent voter registrations in electoral Roll or Voter List. Voter card linked with Aadhaar will help maintain the accuracy of voter lists, ensuring fair and transparent elections. The process of linking the voter card with Aadhaar to verify the identity of voters more efficiently. It also ensures that it facilitates better governance, helps implement welfare schemes, and helps government services reach the intended beneficiaries quickly. Voter card linked with Aadhaar also helps in eliminating duplicate voter entries, ensuring each voter is uniquely identified through Aadhaar authentication, reducing voter fraud, and enhancing the credibility of the electoral system. Linked Voter ID and Aadhaar cards simplify the process of voter verification during elections, making it more convenient for voters and election officials alike. How To Linked Voter Card with Aadhaar Online Process Visit the official website of the Election Commission of India or the National Voter’s Service Portal. Navigate to the “Sign Up Link” section. Upon successful verification, your Voter ID card will be linked with your Aadhaar card Offline Process Forms can be downloaded from the website of Election Commission of India. Forms are also available free of cost in offices of Electoral Registration Officers / Assistant Electoral Registration Officers and Booth Level Officers of the concerned polling station areas. Visit the nearest voter registration center or Election Commission office. Fill out the required form for linking Aadhaar with Voter ID. Submit the form along with copies of your Voter ID card and Aadhaar card. After verification, your Voter ID card will be linked with your Aadhaar card. One recent passport size coloured photograph, duly affixed in Form 6A, photo- copies of the relevant pages of the passport containing photograph, his address in India and all other particulars of the applicant and also the page of passport containing the valid visa endorsement. Who can apply for Voter Card or Elector of Electoral Roll/Voter List in India Applicant should be an Indian citizen of 18 years or more of age with reference to qualifying dates and ordinary resident of the area concerned. According to Section 14 (b) of the Representation of People Act, 1950 the relevant date (qualifying date) for determining the age of an applicant is the first day of January of the year in which the electoral roll after revision is finally published. For example, if you have completed or are completing 18 years of age on any date from and after 2nd January 2013 but upto to 1st January 2014, you will be eligible for registration as a voter in the elector roll going to be finally published in January, 2014. Non Resident of India settled in Foreign Land becomes an Elector of Electoral Roll in India. According to the provisions of Sec 20A of the Representation of People Act, 1950 by the Representation of the People (Amendment) Act, 2010, a person who is a citizen of India and who has not acquired the citizenship of any other country and is otherwise eligible to be registered as a voter and who is absenting from his place of ordinary residence in India owing to his employment, education or otherwise is eligible to be registered as a voter in the constituency in which his place of residence in India as mentioned in his passport is located.(For more information, please refer to ‘Frequently Asked Questions – Overseas Electors’). A person cannot be enrolled as a voter at more than one place in view of the provisions contained in Sections 17 and 18 of Representation of People Act, 1950. Likewise, no person can be enrolled as an elector more than once in any electoral roll. Any person while applying for fresh enrolment, makes a statement or declaration whether his / her name is already included in the electoral roll of any other constituency, and if such statement/declaration is false and which the applicant either knows or believes to be false or does not believe to be true, he is liable to be punished under section 31 of the Representation of the People Act, 1950. Any person who is a voter in the concerned constituency may object to the inclusion of names in electoral roll on the ground that the person whose names is included or is proposed to be included is not eligible to be registered as a voter in that constituency. An objection can be made in Form 7 to the concerned Electoral Registration Officer along with the relevant proof. Conclusion The process of linking your voter ID card with Aadhaar is important; it’s helps maintain your documents more efficiently. This will also help the electoral process and the implementation of welfare schemes by the government. By completing this linkage process, we will help maintain the accuracy of voter lists or Electoral Roll. Follow these simple steps and link your voter card with Aadhar very easily. The Election Commission of India (ECI) has also launched a mobile app to provide a single point of service and information delivery to voters across the country, simplify the process of voter verification, and keep your data at your fingertips during elections, making it more convenient for voters and election officials during polling.

PAN Card Correction

PAN Card Apply

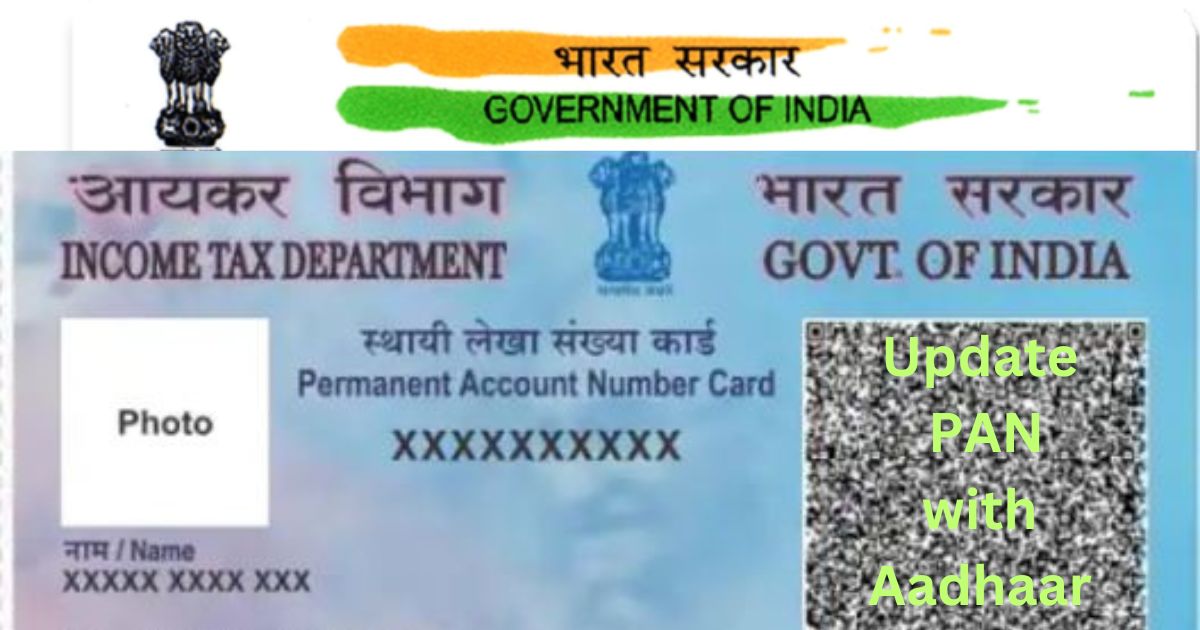
In today’s digital world, PAN card correction is now easy to do online with the help of AADHHAR, which is one of the most important financial documents. A PAN card is one of them issued by the Income Tax Department of India. It works as one of the most important identifications for various financial transactions. Now, the Income Tax Department has updated the system of Pan Card Apply, correction of PAN card data through your Aadhaar card, and all data matches with Aadhaar, making it convenient for individuals to ensure accuracy in their financial records. Now, it is very easy to apply for a Pan Card online by visiting the NSDL website. Update Your PAN with Aadhaar It is imporant to Data exectly match with your Data printed on Aadhaar Card. This can be done very easily through the official websites of the Income Tax Department of India or authorized service providers such as NSDL (National Securities Depository Limited) or UTIITSL (UTI Infrastructure Technology and Services Limited). Why It Is Important To Correct PAN Card Data With The Aadhaar Card PAN cards are unique identifications for individuals when doing financial transactions. It is important for various activities such as filing ITR, opening bank accounts, conducting high-value transactions, and many more. Any mistake in the details of PAN card data leads to problems in doing financial transactions and many more. Therefore, it is important to match the data available on the PAN card with the same Aadhaar card details. While doing so, you do not need to visit a PAN card center; you may do it at home. The Most Common Error In PAN Card Details A pan-details error may occur due to a clerical mistake at the time of applying offline processing, changes in personal details such as name, date of birth address, or discrepancy in supporting documents. The errors, that are most occurred PAN cards are misspelled names, incorrect dates of birth, clerical mistakes, and discrepancies in supporting documents, inaccurate photographs, or outdated address information. Therefore, the correction of these errors is very important for individuals to avoid inconvenience faced by you during financial transactions, while filing tax returns, and many more. Process Of Correction Of PAN Card Data Online Online Process Pan Card Apply Individuals can apply for a PAN card online through the official websites of the Income Tax Department of India or authorized service providers such as NSDL (National Securities Depository Limited) or UTIITSL (UTI Infrastructure Technology and Services Limited). Offline Process Pan Card Apply By visiting designated PAN application centers, collect Form 49A for Indian citizens and Form 49AA for foreign citizens. Also, download the form from the website, print out copies of this form, fill out the form, and submit the forms along with the required documents at designated PAN application centers. Advantages Of Online PAN Card Correction The online PAN card correction process is now very easy after simplifying the process of applying. Individuals can apply for the correction of PAN card data from anywhere by avoiding visiting government offices or designated PAN card centers. The online process surely saves your time and significantly reduces the time required for PAN card correction compared to offline methods. By filling out the correction form online with the help of the of the Aadhaar card, you don’t need to worry about accuracy in the details provided; it will automatically detect data from the Aadhar database, minimizing the chances of errors. The online portal also provides the facility to track application status with the help of a generated application or token number, allowing individuals to track the progress of their correction request. Instant PAN Card Apply e-PAN facility is for allotment of Instant PAN (on near-real time basis) for those applicants who possess a valid Aadhaar number. PAN is issued in PDF format to applicants, which is free of cost. Remember: It’s an Aadhaar e-KYC based process and allotment of PAN is free of cost. A pdf file of PAN will be generated and issued to the applicant. Direct Link For Downloading Physical Form

PM-Surya Ghar Muft Bijli Yojana-2024: How to Apply and Benefits

PM-Surya Ghar Muft Bijli Yojana

In this blog post, I explore PM-Surya Ghar Muft Bijli Yojana, also known as the Prime Minister’s Solar Rooftop Subsidy Scheme receive financial incentives to install the solar panels on the rooftops of every house it’s significance, benefits, how to apply for this scheme, and how it’s transforming lives. The Prime Minister of India, Shri Narendra Modi, has launched the PM Surya Ghar Muft Bijli Yojana-2024, which aims to provide solar power solutions to every household across India to ensure access to clean and affordable energy because Energy sustainability is becoming increasingly vital around the globe. The eligible beneficiaries of the scheme receive financial incentives to install the solar panels on the rooftops of every house. The details of the PM Surya Ghar Muft Bijli Yojana 2024 are as follows: About PM-Surya Ghar Muft Bijli Yojana PM-Surya Ghar Muft Bijli Yojana is a very good initiative aimed at promoting solar energy adoption among households. Under this scheme, eligible beneficiaries receive financial incentives to install solar power panels on their rooftops. The primary objective is to harness solar power, reduce dependence on traditional energy sources, and minimise impact on environment. Subsidy for residential households Suitable Rooftop Solar Plant Capacity for households Average MonthlyElectricityConsumption (units) Suitable RooftopSolar PlantCapacity Subsidy Support 0-150150-300 1 – 2 kW2 – 3 kW Rs. 30,000 to Rs. 60,000/-Rs. 60,000 to Rs. 78,000/- Above 300 Above 3 kW Rs. 78,000/- Eligibility Criteria How To Apply Online Applications may be submitted on the National Portal at: Click Here https://pmsuryaghar.gov.in/ Stepwise Preocedure To Apply PM-Surya Ghar Muft Bijli Yojana Step 1 Register in the portal with the following: Step 2 Step 3 Step 4 Step 5 Step 6 Vendor registration process for National Portal The vendors willing to execute the projects through National Portal can get registered with respective DISCOM by submitting an application along with a declaration in the format given at www.solarrooftop.gov.in and depositing a PBG of Rs. 2,50,000/- valid for at least five years. Vendors can submit the application at the Division/Circle level and their name will be included in the list of empanelled vendors within a period of one month from the date of submission of the application. The DISCOM will update the list every month. The DISCOM will upload the details of the registered vendors on the National Portal and the vendors will receive a registration mail. The vendors can now login into the National Portal with PAN No. and mobile number (used by DISCOM for registration) and enter the product rates and contact details. The details entered by the vendor will be visible to the consumer submitting application to the concerned DISCOM for rooftop solar. Conclusion PM-Surya Ghar Muft Bijli Yojana is a very important initiative towards sustainable energy in India. By using solar power at the grassroots level, the nation moves towards achieving its renewable energy targets and building a green environment for generations to come. The scheme not only addresses energy challenges but also helps in socio-economic development and sustainable environmental practices. Installing solar panels at your home not only reduces your electricity bills but also contributes to a cleaner and more sustainable environment.